



**How to Pick the Perfect Lift-Assist Device for Your Manual Assembly Line**
A manual assembly line thrives on efficiency and safety, but the equipment used to move parts often gets overlooked until operators start complaining. When a worker must lift, twist, and position a component hundreds of times per shift, the lifting device they use has a massive impact on the station’s speed, quality, and overall comfort.
Instead of simply installing whatever hoisting equipment happens to be available in the building, engineers should take a deliberate approach to selecting and sizing the right tool. Here is a straightforward way to think about it.
### Map the Workflow First
Before comparing any devices, draw out the movement of the product. Mark the three key spots: where the part arrives, where it gets worked on, and where it leaves. Sketch the paths between these points and the heights at which the work happens. This shape is the workspace the equipment needs to cover.
Most lifting mistakes happen because a device is chosen before the workspace is mapped. This often results in a crane that cannot reach the exit conveyor, or a system that takes up too much floor space. Once the workflow is drawn, determining how much weight the device needs to lift, how far it must reach, and how often it will operate becomes much simpler.
### Matching the Device to the Workspace
There are four common types of lifting tools used in manual assembly, each suited to a different workspace shape:
* **Fixed Point Hoist:** This is the simplest option, offering vertical lift from a single location. It is the most affordable choice and works well when a part only needs to be pulled straight up out of a machine. The downside is that if the operator needs to move the part side-to-side, they have to drag or swing the load, which can cause ergonomic issues.
* **Boom Crane (Jib Style):** A horizontal arm rotates around a vertical pole, with the lifting hook riding along the arm. Freestanding versions can spin a full 360 degrees but require a reinforced concrete foundation. Wall or column-mounted versions swing through about 200 degrees, cost less, and can use the building’s existing steel structure. For a single station or a work zone shaped like a curve, a properly engineered boom crane provides excellent coverage at a good price.
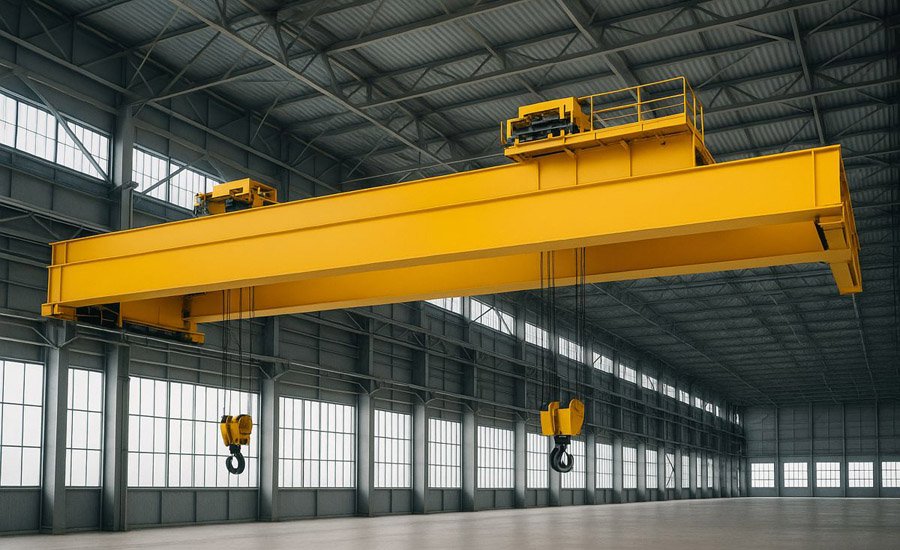
* **Overhead Bridge Crane:** This system runs on two parallel tracks, with a trolley crossing between them. Instead of a circular workspace, it covers a rectangular box. Lightweight aluminum track systems can be pushed easily by a single operator, making them ideal when the work spans a large area or reaches corners that a rotating boom would miss.
* **Multi-Joint Arm:** Featuring several pivot points, this tool can bend around fixtures, reach into machine enclosures, and navigate past obstacles that rigid booms cannot. When paired with specialized end tools like vacuum lifters or tightening guns, it excels at precise, repetitive placement in tight spaces. However, it generally has a shorter reach than other options and comes at a higher cost, making it best for precision tasks rather than general coverage.
### Sizing Beyond Just the Part Weight
Choosing the right lifting capacity involves more than weighing the product. The tools attached below the hook—such as vacuum suction cups, balancing bars, or custom grippers—add to the total load. A common error is sizing the lifting system for the part alone, only to overload it the moment the tooling is attached.
Headroom is another frequently overlooked factor. The critical measurement is hook height: the clearance between the part at its highest lift point and the bottom of the overhead beam or bridge track. In a station with a low ceiling, this vertical clearance can be the deciding factor, ruling out a device that looked perfect on a flat floor plan.
Frequency matters just as much as weight. A station completing a few lifts per hour is a very different machine from one performing a lift every minute. The number of cycles determines the required durability of the hoist and the strength of the steel structure. Undersizing for the daily routine leads to sagging arms, difficult positioning, and premature wear.
### The Ergonomic and Throughput Payoff
The entire purpose of assistive lifting is to protect the worker. Overexertion during lifting is a leading cause of non-fatal workplace injuries and musculoskeletal disorders in manufacturing. Even under ideal conditions, safety guidelines cap the recommended manual lifting load at around 51 pounds, and that limit drops quickly if the worker is reaching, twisting, or lifting from the floor.
A well-chosen lifting system takes the weight out of the operator’s hands, turning the job into a guided movement. When a load is balanced and easy to maneuver, it no longer becomes the slow, careful, two-person step in the production cycle. Single-person handling becomes the norm, parts seat correctly the first time, and rework from dropped or misaligned components drops to zero. Ergonomics and productivity go hand in hand, ensuring the worker performs as steadily at the end of an eight-hour shift as they do at the beginning.
### Right-Size the Station; Do Not Overbuy
The best lifting solution is the simplest device that fully covers the actual workflow at the actual workload. A fixed hoist that does the job does not need to become a boom crane, and a boom that covers the arc does not need to be expanded into a full bridge. Overbuying wastes capital and floor space, while underbuying creates frustrated operators and equipment that breaks down prematurely.
### Structural Support and Safety Compliance
Every lift-assist system must be properly supported. Freestanding booms need engineered foundations, wall-mounted arms need verified building steel, and bridge cranes need runways that are either structural columns or independent steel frames.
Safety must be built into the installation from day one. Before an operator ever touches the device, it should be tested to hold 125 percent of its rated capacity and documented to meet all relevant safety standards. Installing lifting equipment means engineering the device, the workspace, the structure, and the compliance together, rather than simply hanging a hook from whatever is overhead.
### Frequently Asked Questions (FAQ)
**Q: Why is drawing a workflow map the most important first step?**
A: Mapping where the part arrives, is worked on, and leaves ensures the equipment can actually reach every required position. Skipping this step often leads to buying a device that cannot access the outfeed area or that blocks walkways.
**Q: What happens if I forget to include the weight of the lifting tools?**
A: The lifting system will be immediately overloaded the moment the tooling is attached. Sizing for just the bare part causes excessive wear, deflection under load, and potential safety failures.
**Q: How does the duty cycle affect my choice of equipment?**
A: Duty cycle refers to how often the lift happens during a shift. A device used continuously needs heavier-duty components and a stronger structure than one used occasionally, or it will suffer from deflection and early mechanical failure.
**Q: Is a boom crane always better than a fixed hoist?**
A: Not necessarily. If all the lifting happens in the exact same spot—like pulling a part straight up out of a machine—a fixed hoist is the cheapest, simplest, and most effective solution.
### Conclusion
Selecting the right lifting assist for a manual assembly station is an engineering decision that directly impacts worker safety, production speed, and product quality. By mapping the actual workflow, accurately sizing the equipment to include tooling and frequency, and choosing the simplest device that covers the workspace, manufacturers can build safer, faster, and more cost-effective assembly cells. A well-integrated lifting system is not an accessory; it is a core part of the station’s design.
Thank you for reading
