



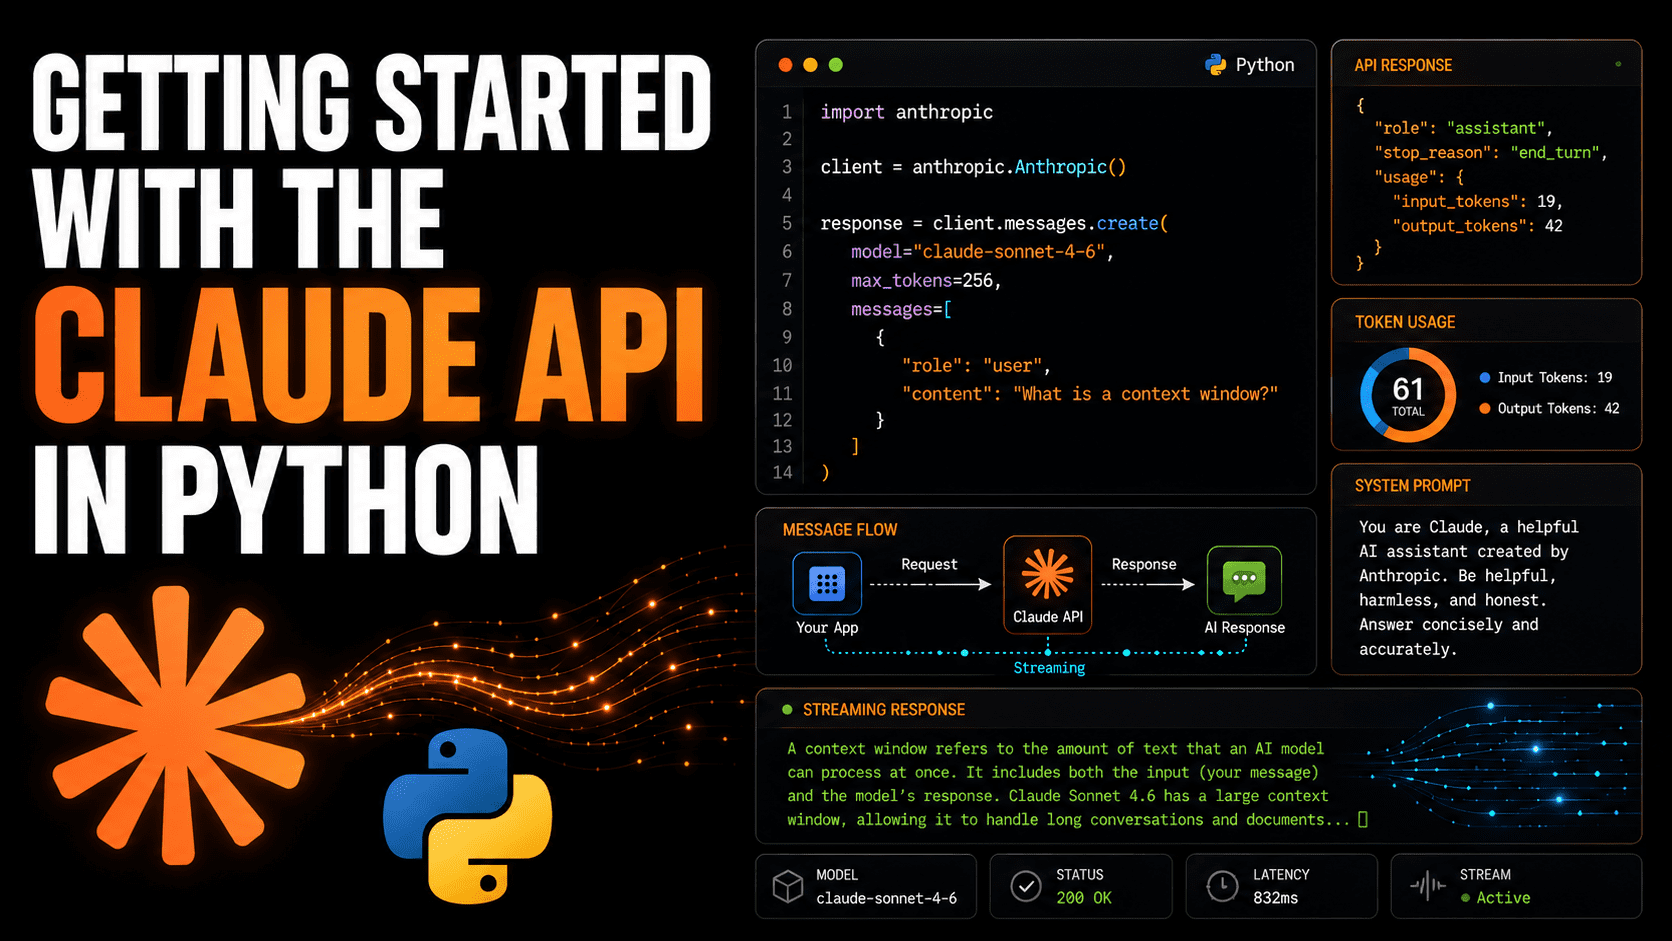
In this article, you will learn the fundamentals of integrating the **Claude** Python API into your projects.
## **1. Introduction**
This guide is tailored for developers who want to quickly integrate **Anthropic’s Claude** models into Python applications. Whether you are building a chatbot, a coding assistant, or a data analysis tool, understanding how to structure requests, handle responses, and optimize for performance is essential.
We will cover:
– Setting up the environment and installing dependencies
– Making your first API call
– Understanding the structure of the API response
– Using system prompts to control agent behavior
– Streaming responses for real-time output
## **2. Prerequisites and Installation**
Before you begin, ensure you have:
– **Python 3.9+**
– A **Claude Console account**
– An **API key** from the **Settings > API Keys** section
– (Optional) $5 in credits for testing
Install the official SDK using pip:
“`bash
pip install anthropic
“`
For security, never hardcode your API key. Instead, set it as an environment variable:
“`bash
export ANTHROPIC_API_KEY=”your-api-key-here”
“`
If you’re using `python-dotenv`, place the key in a `.env` file at the root of your project.
## **3. Making Your First API Call**
The primary method for interacting with Claude is through the `client.messages.create()` function.
Here’s a basic example that asks Claude to define a **context window**:
“`python
import anthropic
client = anthropic.Anthropic()
response = client.messages.create(
model=”claude-sonnet-5″,
max_tokens=256,
messages=[
{
“role”: “user”,
“content”: “In one sentence, what is a context window?”
}
]
)
print(response.content[0].text)
“`
**Key parameters:**
– `model`: The model ID (e.g., `claude-sonnet-5`)
– `max_tokens`: Limits the length of the response
– `messages`: A list of conversation turns, starting with a `user` role
**Sample output:**
> A context window is the maximum amount of text (measured in tokens) that a language model can process and consider at one time, encompassing both your input and its output.
## **4. Understanding the Response Object**
The `messages.create()` method returns a typed `Message` object. Inspecting the full structure helps when building production-grade applications.
Example debug output:
“`python
print(response)
“`
Which reveals fields such as:
– `id`: Unique identifier for the message
– `role`: Either `assistant`, `user`, or `system`
– `content`: A list of text or tool blocks
– `stop_reason`: Why generation stopped (`end_turn` or `max_tokens`)
– `usage`: Input and output token counts (important for billing)
To extract the text response:
“`python
response.content[0].text
“`
Always check `stop_reason` to determine whether the response was truncated due to `max_tokens`.
## **5. Using System Prompts**
System prompts define the behavior, role, and constraints of the assistant across the entire conversation.
Example: Building a Python code reviewer
“`python
response = client.messages.create(
model=”claude-sonnet-5″,
max_tokens=512,
system=”You are a Python code reviewer. Respond only with improved Python code. Do not explain unless asked.”,
messages=[
{
“role”: “user”,
“content”: “def get_user(id):n db = connect()n return db.query(‘SELECT * FROM users WHERE id=’ + id)”
}
]
)
print(response.content[0].text)
“`
The `system` argument keeps instructions consistent throughout the interaction, reducing the need to repeat rules in every user message.
## **6. Streaming Responses**
For longer or slower responses, use streaming to display output incrementally.
“`python
with client.messages.stream(
model=”claude-sonnet-5″,
max_tokens=512,
messages=[
{
“role”: “user”,
“content”: “Explain how Python list resizing works.”
}
]
) as stream:
for chunk in stream.text_stream:
print(chunk, end=””, flush=True)
print()
“`
The `text_stream` iterator yields small string fragments in real time. Using `end=””` and `flush=True` ensures smooth terminal output.
After the stream ends, you can retrieve the final message with usage stats:
“`python
final_message = stream.get_final_message()
“`
## **7. Next Steps**
Now that you’ve covered the basics, you can explore:
– Error handling and retries
– Token usage optimization
– Multi-turn conversations
– Structured output and tool use
Refer to the official [Claude Python SDK documentation](https://docs.anthropic.com/claude/docs) for advanced patterns and best practices.
—
**About the Author**
Bala Priya C is a developer and technical writer from India, with expertise in DevOps, data science, and natural language processing. She enjoys writing tutorials, how-to guides, and code examples to help developers learn and grow.
—
**Original Source:**
*Getting Started with the Claude API in Python* – KDnuggets
https://www.kdnuggets.com/getting-started-with-the-claude-api-in-python
