



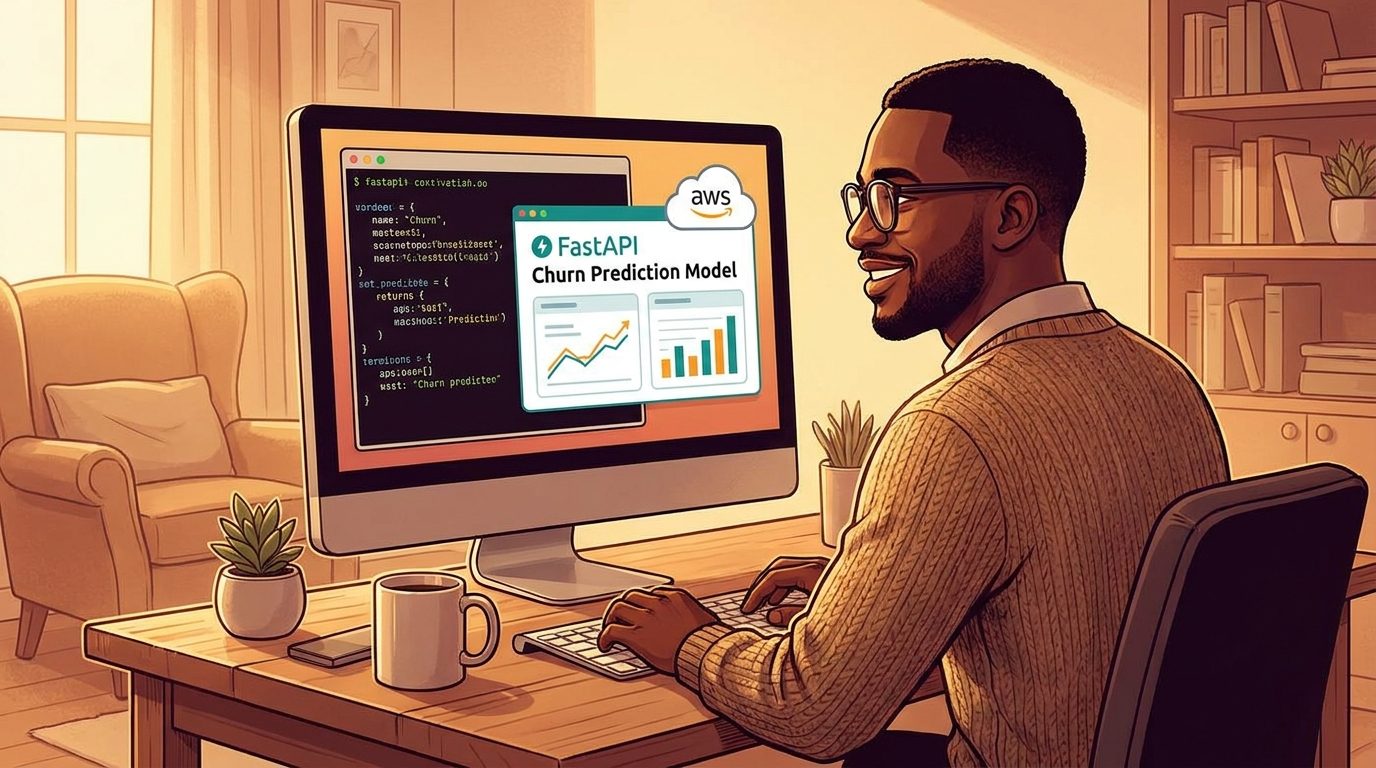
# From Local to Live: Deploying a Machine Learning API to the Cloud
## The Problem with Local-Only Models
There’s a particular kind of satisfaction that comes from building a working machine learning model on your own machine. You train it, test it, watch the metrics improve, and feel like you’ve accomplished something meaningful. But that feeling can be misleading — because a model that only works on your laptop isn’t really a model at all. It’s a demonstration.
This was the realization that hit me when I set out to build a churn prediction service using FastAPI. The application accepted customer data, ran it through a trained scikit-learn pipeline, and returned a churn probability, a binary prediction, and a risk classification. On my local machine, everything functioned beautifully. Every request through Swagger UI returned valid results. I could have stopped there.
But stopping there would have meant accepting that the work was ornamental. An API nobody else can reach doesn’t solve any real problem. It doesn’t serve users, doesn’t integrate into larger systems, and doesn’t survive a closed laptop. So I pushed forward — not to make the model smarter, but to make it accessible.
## Why Containerization Became Necessary
The gap between “it works on my machine” and “it works everywhere” is one of the oldest challenges in software engineering. Machine learning applications are particularly vulnerable to this because they depend on a very specific stack: a particular Python version, exact package versions, file paths, and directory structures. Any of these shifting between environments can break things silently.
Containerization solves this by packaging the entire runtime environment alongside the application code. Rather than handing someone a folder of Python files and hoping their system matches yours, you deliver a self-contained image that includes the operating system layer, the Python runtime, every dependency pinned to a specific version, and the application itself. When someone runs that image, they get the exact same environment you developed in — regardless of what’s installed on their host machine.
## Setting Up the Dockerfile
Before writing a single line of Docker configuration, I needed to freeze the exact state of my local environment. I used `pip freeze` to capture the precise versions of every installed package:
– fastapi
– uvicorn with standard extras
– scikit-learn
– pandas
– numpy
– pydantic
– joblib
This was an important step. Letting the container pull the latest versions during build would have introduced variability. Pinning versions ensures reproducibility.
I also had to pay attention to the Python version. My local setup was running Python 3.14.6, which is a relatively recent release. The common habit of reaching for a generic base image like `python:3.11-slim` would have created a mismatch. The Dockerfile had to specify `python:3.14-slim` as its base to mirror the local environment accurately.
The Dockerfile itself followed a standard pattern: set the working directory, copy the requirements file, install dependencies, copy the application code and model files, expose the port, and define the startup command.
## Three Failures I Didn’t See Coming
The Docker build completed successfully in about two and a half minutes. The extended build time was likely due to several packages lacking prebuilt wheels for the newer Python version, forcing compilation from source. But the build succeeded, and that felt like progress.
Then I ran the container, and it immediately crashed with a `ModuleNotFoundError` for a module called `schemas`.
### Failure 1: The Hidden Import Path Problem
This was a subtle issue that only surfaced at runtime. Locally, I always worked inside the `app/` directory when starting the server, which meant Python could find `schemas.py` right next to `main.py`. But inside the container, the startup command was pointing to `app.main:app` from the `/code` directory, which caused Python to treat `app` as a package. That changed how imports were resolved, and `schemas` suddenly became invisible.
The fix involved adjusting the startup command to use the `–app-dir` flag, telling Uvicorn to treat the `app` folder as the root while still loading `main:app`. After rebuilding, the container ran without any import errors.
### Failure 2: The Moving IP Address
When I moved on to deploying the container to an AWS EC2 instance, I copied the project files over using `scp`. The command timed out with a connection refused error on port 22. My immediate assumption was that I had misconfigured the instance.
It turned out the issue was my security group’s firewall rule. I had restricted SSH access to my own IP address, but my home IP had changed since I first configured the rule. Once I updated the security group to allow my new IP, the file transfer worked without issue.
This is a small detail, but it’s a surprisingly common stumbling block when setting up remote servers, and it’s worth calling out explicitly.
### Failure 3: Slower Builds on Limited Hardware
Rebuilding the Docker image directly on the EC2 instance — rather than pushing to a registry and pulling — took significantly longer than the local build. The t3.micro instance has limited CPU capacity, and several packages needed to be compiled from source, which is computationally expensive. The build eventually completed, but the wait was a reminder that deployment infrastructure matters for developer experience even if it doesn’t affect the final product.
## Standing Up the EC2 Instance
I chose an AWS t3.micro instance running Ubuntu for the deployment target. This instance type qualifies for the free tier and provides more than enough resources for a single-model FastAPI application.
The setup involved launching the instance through the AWS console, selecting Ubuntu as the AMI, choosing the t3.micro instance type, and generating a key pair for SSH access. The security group required two inbound rules: one for SSH on port 22 restricted to my IP, and a custom TCP rule on port 8000 open to all traffic, since the API needs to be reachable from anywhere.
I made a deliberate choice to use an IAM user rather than the root AWS account for all operations. The root account carries unrestricted access, and any mistake made under its privileges can have far-reaching consequences. An IAM user with scoped-down permissions provides the same operational capability while significantly limiting the blast radius of any unintended action.
## Shipping the Image and Running It
Docker was installed on the instance using the standard Ubuntu package manager. Rather than using Amazon Elastic Container Registry for this small project, I rebuilt the image directly on the server using the same Dockerfile from my local machine. The project files were transferred via `scp`, and the image was built with a straightforward `docker build` command.
The container was launched with the `-d` flag, which runs it in detached mode. This is critical — without it, the container stops the moment the SSH session ends, which defeats the entire purpose of deploying to a remote server. With detached mode, the API keeps running in the background regardless of whether I’m connected.
I then tested the deployed endpoint from my own laptop by navigating to the EC2 instance’s public IP address on port 8000, which served the Swagger UI. I sent the same test customer payload through the `/predict` endpoint and received identical results to those from my local environment and the local container. The model was now reachable by anyone on the internet.
## Securing a Stable Endpoint
One thing I initially overlooked was the nature of EC2’s default public IP address. It’s not permanent — if the instance is stopped and restarted, AWS assigns a new IP, breaking any external references to the old one. Attaching an Elastic IP to the instance solves this by providing a static address that remains constant across stops, starts, and restarts. It’s a small configuration step that makes the difference between a prototype and something that can be shared reliably.
## Remaining Weaknesses
It’s important to be honest about what this deployment is not. While the API is now reachable and functional, there are gaps that prevent it from being production-ready:
– **No encryption in transit.** The API communicates over plain HTTP on port 8000, which is fine for a learning exercise but would be unacceptable for any application handling real customer data.
– **No access control.** Anyone who knows the IP address can call the `/predict` endpoint. There is no API key, no authentication layer, and no rate limiting to prevent abuse.
– **No automatic recovery.** If the underlying hardware fails or the instance reboots, the container won’t restart on its own. The API will be down until someone manually intervenes.
These are well-understood problems with well-established solutions, and they’re on the roadmap for future iterations of this project.
## Looking Ahead
The journey from a Jupyter notebook to a publicly accessible API represents something that sets machine learning engineering apart from traditional software development. In conventional coding, the environment is relatively stable and the challenges are mostly logical. In ML deployment, the majority of obstacles come from environmental mismatches, infrastructure quirks, and subtle differences between local and remote systems.
The next step in this progression involves building a more comprehensive ML application and deploying it to the cloud at scale — applying the lessons learned about environments, containers, and infrastructure to more complex models and architectures.
—
## Frequently Asked Questions
**Q: Why not just deploy the Python files directly to the server without Docker?**
A: You absolutely can, and many people do for simple projects. Docker adds a layer of complexity but guarantees that the environment your application runs in is identical to the one you developed in. It eliminates the “works on my machine” problem by bundling the Python version, all dependencies, and configuration into a single portable unit. For anything beyond a quick experiment, this reproducibility is invaluable.
**Q: Is a t3.micro instance really enough for serving a machine learning model?**
A: For a single lightweight model serving predictions via a FastAPI endpoint, a t3.micro is more than sufficient. It has 1 GB of RAM and 1 vCPU, which handles the kind of small-batch, low-latency inference a churn prediction API requires. You’d need a larger instance for models that are memory-intensive, require GPU acceleration, or need to serve high request volumes concurrently.
**Q: Why rebuild the Docker image on the EC2 instance instead of pushing it to a container registry?**
A: For small, personal projects, rebuilding on the server avoids the extra steps of tagging, pushing to a registry like Amazon ECR, and pulling from it. It keeps the workflow simple and reduces the number of things that can go wrong. As projects grow in complexity and teams collaborate, a container registry becomes essential for versioning and distribution.
**Q: What happens if someone discovers my EC2 instance’s IP address and starts abusing the endpoint?**
A: Without authentication, rate limiting, or IP whitelisting, anyone can call your API. They could exhaust your compute resources, generate unnecessary costs, or bombard the endpoint with requests. This is exactly why production deployments should include at least a basic API key system and rate limiting. AWS also offers security groups and network-level protections that can help mitigate abuse.
**Q: How long does it take to set up an EC2 instance for this kind of project?**
A: From launching the instance to having a working API endpoint, the entire process can take anywhere from 30 minutes to an hour, depending on your familiarity with the AWS console, Docker, and SSH. Most of the time is spent navigating configuration options and troubleshooting small issues — the kind of unglamorous work that separates a working project from a truly deployed one.
—
## Conclusion
Deploying a machine learning model is where the real engineering begins. Training a model is a significant achievement, but making it available to other people — or to other systems — requires grappling with environments, infrastructure, networking, and security. Each of these layers introduces its own set of challenges, and encountering them is not a sign of failure. It’s how you learn what production-grade ML actually looks like.
The three failures described in this article — the import path issue in Docker, the shifting IP address during file transfer, and the slow build times on limited hardware — each taught something practical that no tutorial could fully prepare you for. They are common enough to affect anyone who deploys their first containerized application, yet specific enough that their solutions are worth remembering.
This project demonstrates that the path from a local experiment to a cloud-deployed service is neither mysterious nor exclusively for experienced engineers. It requires patience, a willingness to debug unfamiliar systems, and an acceptance that most deployment work is unglamorous but essential. The skills built along the way transfer directly to every subsequent ML project you’ll ever ship.
Thank you for reading
