



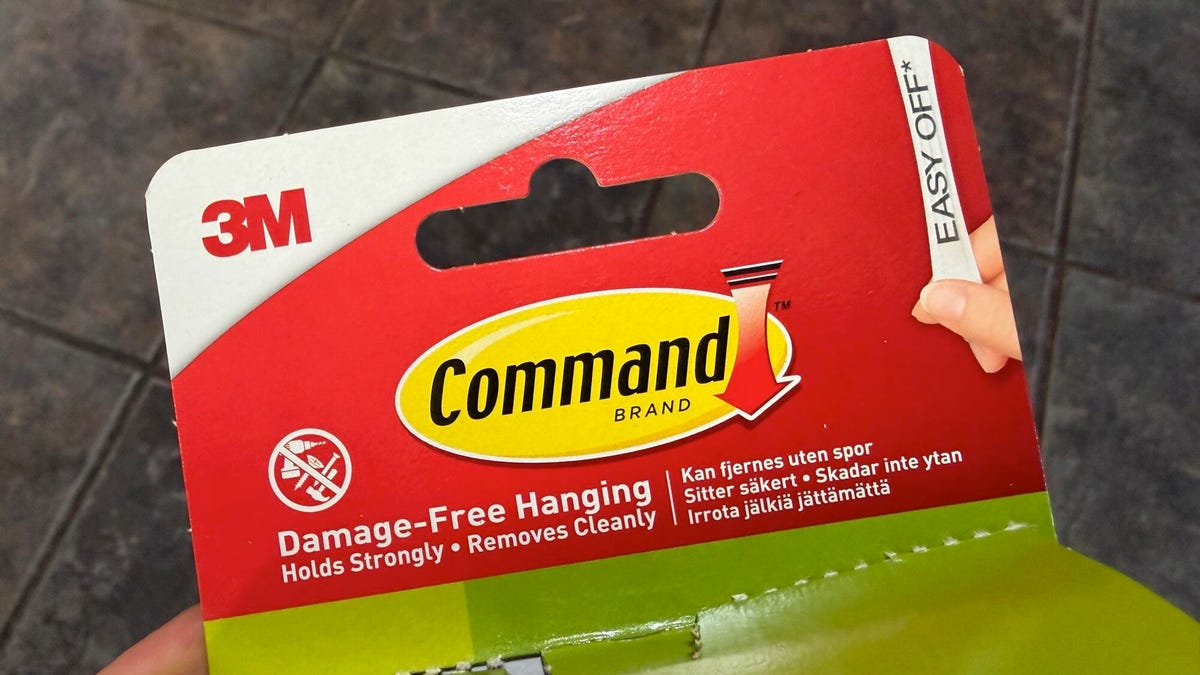
**Master the Art of Hanging with Command Strips: A Comprehensive Guide**
In an era where minimalism and preservation of wall aesthetics are increasingly prioritized, traditional hanging methods like nails and screws have become less desirable. For those seeking a cleaner, non-damaging solution, adhesive products—specifically 3M Command strips—have emerged as the go-to choice for hanging everything from picture frames to cable management. However, achieving optimal results requires more than just a casual application. To transform you into a Command strip connoisseur, we’ve compiled essential tips addressing common pitfalls and best practices.
### **Why Command Strips?**
Command strips offer a practical and damage-free alternative to traditional hardware. Their removable adhesive foam strips distribute weight evenly across a larger surface area, securely holding items until you decide to make a change. When applied and removed correctly, they leave no residue or holes, making them ideal for renters or anyone wishing to avoid wall repairs.
### **Key Takeaways for Success**
1. **Choose the Right Surface**
Command strips adhere best to smooth, non-porous surfaces such as painted walls (ensure paint is fully cured), sealed wood, tile, glass, and metal. Avoid using them on wallpaper, as the adhesive may prioritize the wallpaper over the wall, leading to damage. Always test surface compatibility by running a fingernail across the area to check for texture or dust.
2. **Select the Proper Strip**
Not all Command strips are created equal. They range in strength, capable of holding anywhere from half a pound to 20 pounds. It’s crucial to choose the right strip for the weight of your item—when in doubt, opt for a higher weight capacity. Additionally, certain environments, like bathrooms, require water-resistant strips, identifiable by their blue packaging.
3. **Prepare the Surface Meticulously**
Surface preparation is key to adhesion success. Wipe the area with rubbing alcohol or isopropyl alcohol to remove any residue, oils, or dust. Avoid using soap, water, or harsh cleaners, as they can leave a film that compromises stickiness.
4. **Apply with Precision**
Before adhering the strip, confirm its placement. Peel the backing carefully, ensuring the correct side is facing outward. Press the adhesive firmly onto the wall, with the pull tab pointing downward, and hold for 30 seconds. Remember, patience is vital—allow 24 hours for the adhesive to reach full strength before hanging items.
5. **Remove Without a Trace**
When it’s time to take down your decor, pull the tab slowly and steadily downward, parallel to the wall. Resist the urge to rush; pulling too aggressively can damage both the strip and the wall surface.
### **Solutions for Heavy-Duty Needs**
For heavier items like mirrors or large frames, standard Command strips may not suffice. The 3M CLAW is a specialized tool designed for such applications. Capable of holding up to 65 pounds, these metal hooks dig into drywall or plaster, providing robust support with minimal wall intrusion.
By following these steps, you can enjoy the versatility and convenience of Command strips while maintaining the integrity of your walls. Whether refreshing your decor or organizing your space, Command strips offer a smart, modern solution for everyday hanging challenges.
*Originally sourced from: Adrian Kingsley-Hughes/ZDNET*
